
If you happen to’re looking out for one of many best screen recorders in your Mac or PC, you’ll end up in a crowded market. One candidate, which occurs to be cross-platform, is TechSmith’s Camtasia, and to entice you to present it a attempt, it comes with a free 7-day trial.
We final reviewed the software program in 2022, again when the free trial was a beneficiant 60 days. That apart, how does Camtasia evaluate to rivals now? We put the display screen recording software program to the take a look at.
Camtasia: Pricing & plans
- Premium pricing, premium product
We’ve taken a take a look at many apps which supply subscription-based providers, some as little as $3 a month, like ScreenPal, and a few of the best free screen recorders, albeit with limitations, resembling Flashback Categorical.
Camtasia is a costlier beast. If does provide totally different costs relying on the subscription tier you select. As an example, Camtasia Necessities presents display screen and webcam recording, video modifying instruments, and text-to-speech transcription, for $180 / £171 a yr.
Camtasia Create brings in AI-generated scripts, text-based video modifying, audio cleanup, and over 200 voices and kinds, for $250 / £237 per yr.
Whereas Camtasia Professional contains video critiques and collaboration, AI-translated captions, AI-generated chapters, titles and descriptions, AI-generated avatar movies, and thousands and thousands of premium property, for $500 / £474 a yr.
If you happen to’re on the lookout for a perpetual licence, these are nonetheless accessible should you’re a part of a enterprise, in training or the federal government, and can price a one-off $300, $213 or $270 per person respectively. Do remember although that not like subscriptions, future updates won’t be included for that value.
So sure, it’s on the prime finish of the worth vary, however we’d advocate you do obtain the trial model to no less than give it a go. Not solely did we discover it a breeze to arrange, Camtasia additionally contains a few of the best video editing software instruments in its discipline, a characteristic missing in lots of different competing software program we’ve examined.
Camtasia: Setup

- Actually easy authorisation course of to allow all wanted options
Like all different apps of this kind, you’ll have to authorise it for recording your display screen, webcam, together with any audio sources.
Different software program could make this course of opaque and complicated, however Camtasia does a wonderful job at simplifying the method as a lot as potential: click on in your webcam, and it’ll ask you to authorise the method. The identical in your microphone, pc’s audio, and naturally, your display screen.
Camtasia can even open up your pc’s settings on the proper location so that you can do all of this. You’ll must restart the app for the preferences to take impact, however as soon as accomplished, you received’t must do it once more, and Camtasia is able to file.
Camtasia: Capturing

- Straightforward to arrange your many recording parameters
Establishing a recording session is as simple as could be: you’re introduced with a easy welcome display screen providing you entry to your most up-to-date recordings, the choice to create a brand new challenge from scratch, one based mostly on a template (a wealth of which can be found by way of Camtasia’s Asset Retailer), open a challenge not within the listing of current ones, or begin a brand new recording.
By default, when organising a brand new recording, Camtasia will seize your whole Desktop, however there’s a drop down menu to let you choose a selected measurement or area, with a inexperienced border showing to indicate you what’s going to be within the shot, and what received’t be.
You even have the choice of fixing the frames per second worth from 5 to 60 (the default is 30). In case your webcam helps it, you’ll be able to management its decision. You get to decide on which microphone to file the exterior audio from, and whether or not or to not seize the system audio as effectively.
When you’re prepared, click on on the large pink ‘Rec’ button. You’ll be given a 3-second countdown, and the controls will disappear, letting you seize with no home windows or menus getting in the best way.
Stopping the recording is finished by way of a helpful keyboard shortcut displayed through the countdown, or by way of the menu bar in your Mac. You’ll then be taken to the Workflow space.
Camtasia: Workflow
- A sequence simplified listing of templates you can not customise, however might be greater than sufficient to present your challenge knowledgeable look with subsequent to no effort
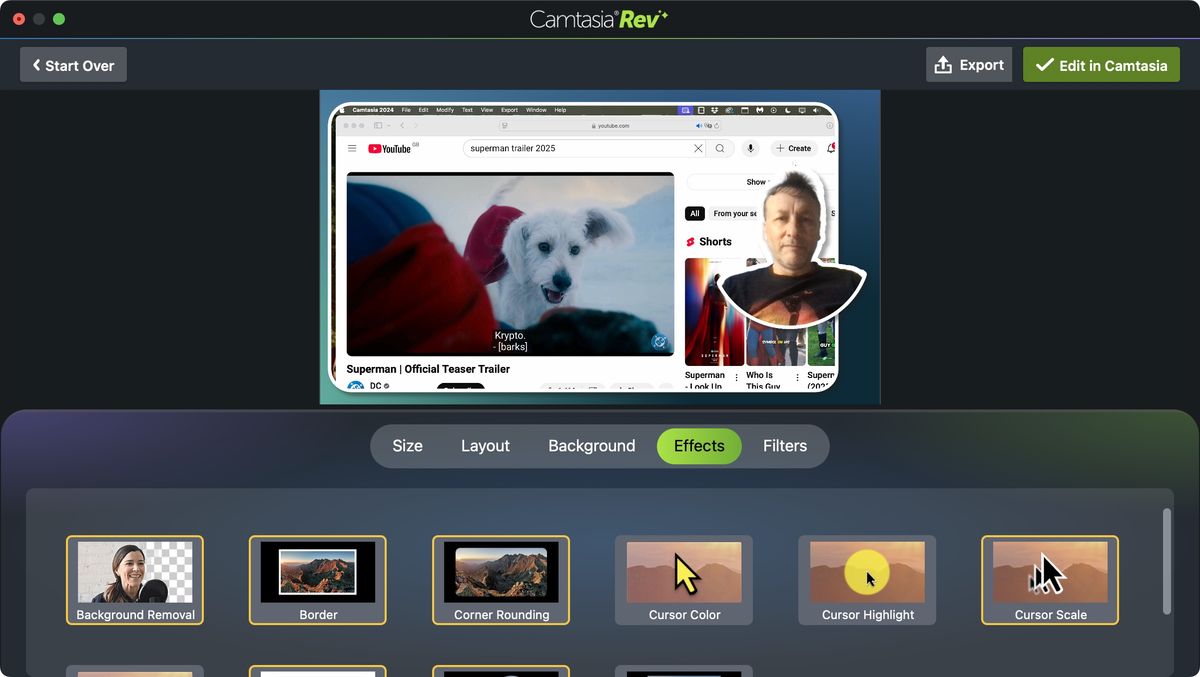
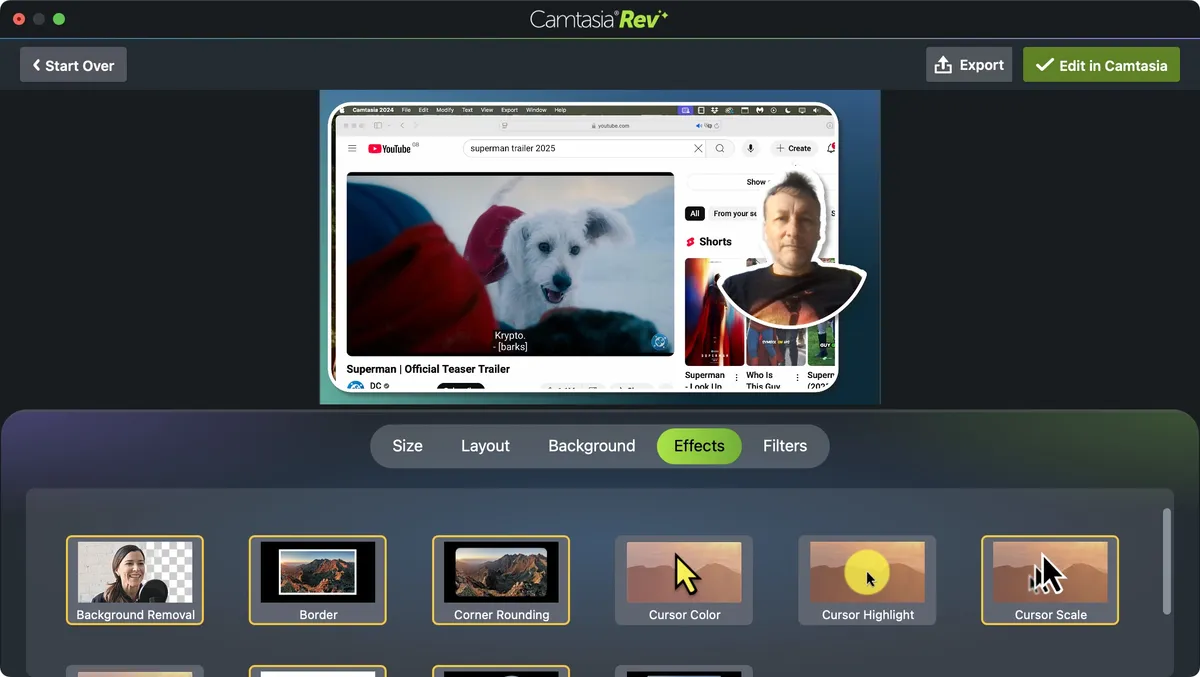
Consider the Workflow as a staging space in your recording. You could be very proud of what you achieved through the recording, and don’t have to do any modifying, so you should use Workflow to fairly up your challenge. As an example, you have got 16 totally different structure templates to select from, inserting the webcam and your display screen recording in numerous areas of the display screen, with totally different results utilized to every. Do you have to want one, you’ll be able to add a colored background, or choose extra results resembling growing the scale of the cursor, altering its color, including a mirrored image to your display screen recording, a white border, and so forth, and at last you’ve obtained a bunch of filters to play with.
It is a nice halfway possibility, letting you shortly create a mode you would possibly like so long as you’re proud of the shortcoming to effective tune the outcomes. Nonetheless, this might fulfill most customers, serving to them end in subsequent to no time. If nevertheless you’re extra of a hands-on, sweat-the-details sort of individual, then it’s time to make a journey to Camtasia’s Editor (by clicking on the inexperienced button, prime proper of the interface).
Camtasia: Enhancing

Camtasia contains a few of the greatest video modifying software program for its market. In fact, that is no Premiere Professional, but it surely actually units Camtasia other than most of its competitors. It’s primarily a totally fledged non-linear video modifying suite.
To the left is a sidebar providing you with entry to your recorded media, in addition to a library of results, transitions and animations, that can assist you professionally edit and composite your challenge.
The decrease a part of the interface is dedicated to the timeline. That is the place you construct your challenge, including clip after clip on a number of layers. You’ll discover that your webcam footage has been saved individually to the display screen seize. The identical applies to your microphone and system audio (which is why it’s advisable to at all times file with headphones on, in any other case the sound from one will bleed onto the opposite, making it very laborious, if not not possible, to separate).
The benefit of getting all these layers is flexibility. You’ll be able to transfer your webcam footage across the timeline, resize it, and even take away sections as you see match. The identical is true out of your display screen seize, and some other media you’d care so as to add to your challenge.
Primarily, you have got full management over your clips. You’ll be able to trim them, break up them, transfer them to totally different layers, apply results and transitions, and so forth. All of the instruments you discover within the sidebar could be dragged onto a clip, and the properties parameters discovered on the precise could be altered till you get the precise look you’re after. Any results or filter you’ve added whereas in Workflow are preserved whenever you change to the Editor, and at the moment are absolutely customisable.
If you wish to add extra media or results, find them from the left sidebar, and drag them to your challenge, or onto the clip you want to alter. Some Property are labelled as ‘Premium’ (their thumbnail has somewhat crown prime left of them). From our understanding, they’re included with the Camtasia Professional subscription, however you may also subscribe to them individually, for $200 a yr.
When you’re comfortable together with your challenge and are able to share it with others, the Export button can save your work to your native drive or add on to providers resembling YouTube, Google Drive, and TechSmith’s personal on-line choices.
This final course of is so simple as they will make it: merely select your format (mp4 is the default), and click on on Export. If you wish to get extra technical, click on on Choice to achieve entry to all changeable parameters. Keep in mind the trial model will watermark your output. When you’ve paid, that hindrance will not be in impact.

Ought to I purchase?

Purchase it if…
Do not buy it if…
For extra inventive instruments, we have reviewed the best screenshot tools for Mac.